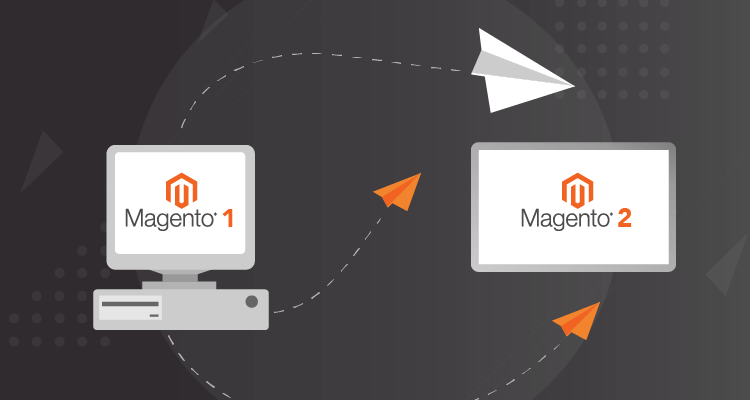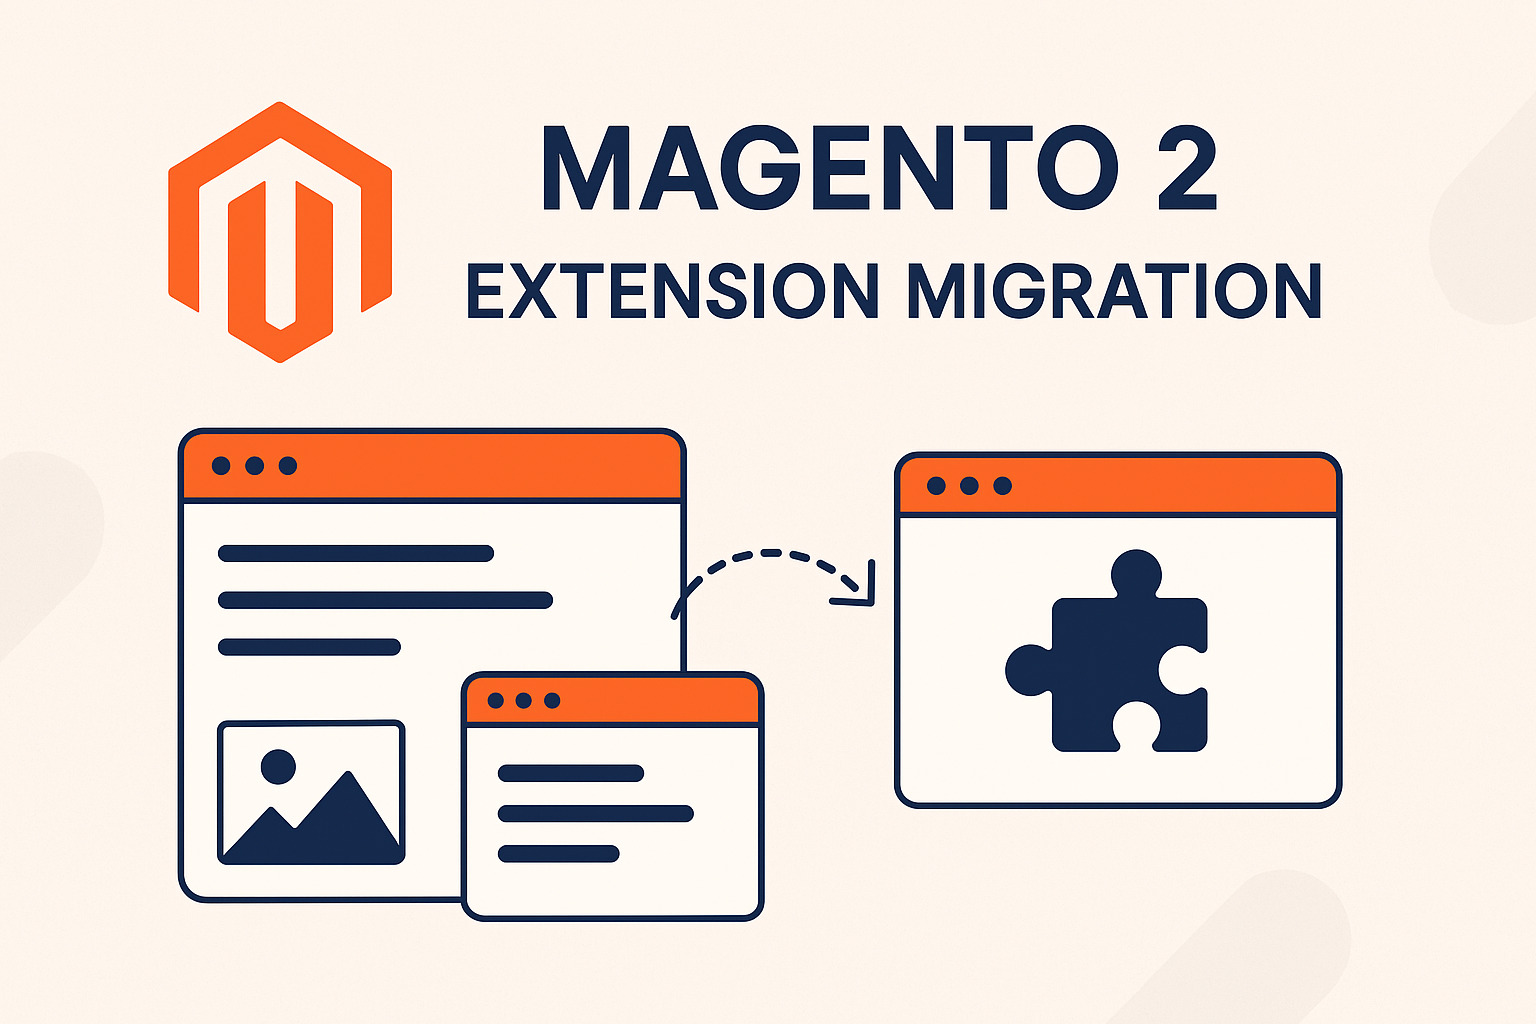
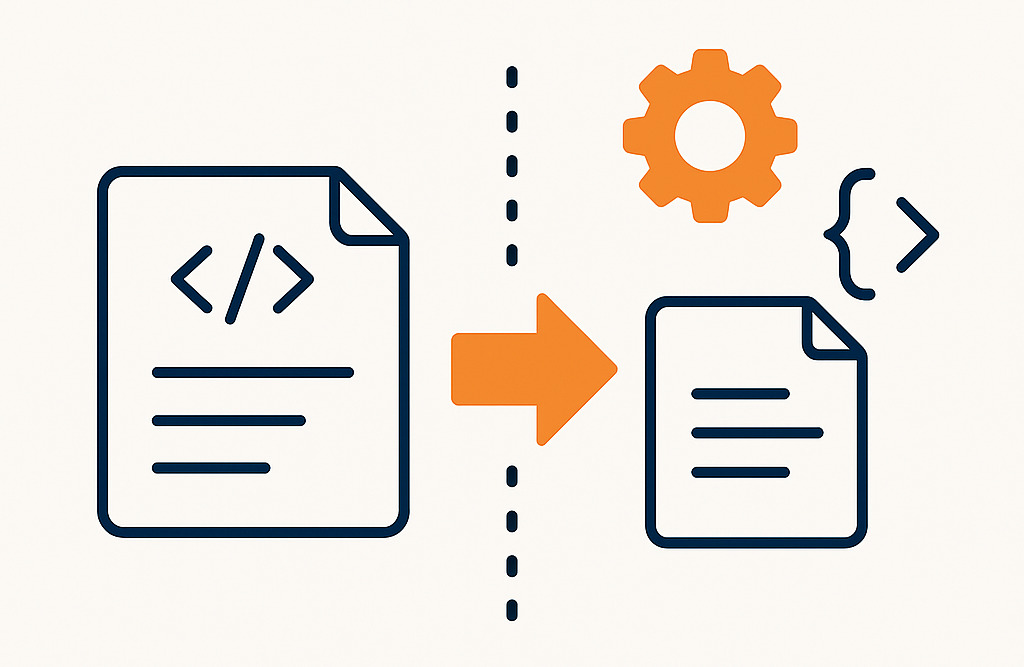
Migrating from Magento 1 to Magento 2 is more than just a platform upgrade, it's a complete architectural shift. A crucial part of this transition involves migrating your existing extensions, known as “modules” in Magento 2. Due to Magento 2’s modernised architecture, built around service contracts, dependency injection, and modular code structure, extensions from Magento 1 cannot simply be copied over. Instead, they must be carefully reviewed, refactored, and adapted to fit the new system.
In this blog post, we’ll walk you through everything you need to know about Magento 2 extension migration, from understanding the core components of the process to following a step-by-step guide tailored for developers. You’ll also gain insights to help you make informed decisions and avoid common pitfalls along the way.
Let’s dive in!
Things to know before migrating Magento 1 extensions to Magento 2
Breaking down extension migration: Code and data parts explained
Magento 2 module migration involves 2 key phases: code and data migration. Both are essential for a complete and functional migration.
1. Code migration
Module code migration is the process of adapting or rebuilding the business logic, structure, and user interface of a Magento 1 extension to ensure full compatibility with Magento 2’s modular architecture.
Key tasks:
-
Reorganising code structure to follow Magento 2’s PSR-compliant module directory structure (app/code/Vendor/Module).
-
Replacing Mage::getModel() or Mage::helper() with dependency injection (DI) and service contracts.
-
Updating layout XML, controller logic, observers, and blocks to comply with Magento 2’s architecture.
-
Refactoring the admin panel UI using Magento UI components and frontend logic using Knockout.js and RequireJS.
There are two approaches for Magento 2 module code migration:
-
Rebuilding from scratch: For complex or highly customised modules, a complete rewrite using Magento 2 architecture might be the most efficient path. This ensures full adherence to new standards and avoids carrying over legacy code issues.
-
Semi-automated code migration using Magento’s toolkit: For simpler modules or those with reusable logic, you can partially migrate code from Magento 1 by leveraging the Magento Code Migration Toolkit. This tool offers limited automation for tasks such as XML and class alias conversion, which can help speed up the process. However, you’ll still need to manually adapt the migrated code to align with Magento 2’s architecture, structure, and coding standards.
2. Data migration
Data migration refers to transferring the extension’s related data to Magento 2. This could include custom database tables, config values stored in core_config_data, logs, tokens, or serialised data. This is typically done by:
-
Using the Magento data migration tool: This official tool can be extended to migrate custom module tables by adding specific mapping and transformation rules, making it suitable for structured data.
-
Using custom scripts tailored to the module's schema: For unique or highly customised data structures, writing custom PHP or SQL scripts provides the flexibility needed to transfer data manually and accurately.
Note: The module must be installed, registered, and functional in Magento 2 before any related data can be successfully imported. This ensures that Magento 2 recognizes the module’s tables, DI configuration, and models needed during the data import process.
Extension type classification: Key to the right migration strategy
Magento 1 extensions typically fall into two categories: third-party and custom-developed. Each category aligns with a distinct code migration approach mentioned above. Accurately classifying them upfront helps you decide whether to replace, rebuild, or reuse, ensuring a more efficient, cost-effective migration.
1. Third-party extensions
Third-party extensions are those that you have purchased or downloaded from the Magento Marketplace or external vendors. Their migration approach depends on their status on Magento 2:
-
If the functionality is now built into Magento 2, you don’t need to migrate the old extension code. Magento 2 has incorporated many features that previously required third-party extensions in Magento 1. You’ll just need to configure the built-in feature properly and plan how to migrate any related data from your Magento 1 store.
Below is a table of key features that required external modules in Magento 1 but are now included out of the box in Magento 2.
| Feature/Functionality | Magento 1 (Third-party required) | Magento 2 (Built-in module) |
| Full page caching (FPC) | Required extensions like Lesti FPC, Turpentine | Magento_PageCache |
| Varnish cache support | Manual config + third-party integration | Magento_PageCache with built-in Varnish support |
| JS/CSS minification & bundling | Fooman Speedster, custom scripts | Native RequireJS, asset bundling |
| Elasticsearch integration | Third-party Elasticsearch module needed | Magento_Elasticsearch (required from Magento 2.4+) |
| Two-factor authentication (2FA) | Extensions like Xtento, Amasty, etc. | Magento_TwoFactorAuth |
| Admin logging / ACL | Admin logging modules like Admin Logger | Magento_Authorization, Magento_Backend |
| reCAPTCHA integration | Modules like Mageplaza ReCAPTCHA | Magento_ReCaptcha |
| Static content deployment & Production mode | Manual optimization | Built-in static deploy & modes |
| Canonical tags | SEO extensions | Native canonical link support |
| Structured data (JSON-LD) | MageWorx SEO Suite, custom dev | Native rich snippet markup |
| Google Analytics / Enhanced ecommerce | Third-party GA tracking module | Magento_GoogleAnalytics |
| Product video gallery | Extensions like FME Product Video | Magento_ProductVideo (supports YouTube integration) |
| Gift options (message, wrap) | Extensions like Magestore Giftwrap | Magento_GiftMessage, Magento_GiftWrapping (EE only) |
| Responsive admin panel | Admin theme extensions | Fully responsive admin UI |
| Admin grid customisation | Grid manager extensions | Built-in saved views, filters, and columns |
| Two-step checkout | Require a one-step checkout extension | Streamlined two-step checkout by default |
| Shipping table rates / Offline carriers | Required shipping modules | Magento_OfflineShipping, Magento_Shipping |
| Tax rule management & Calculation | Needed enhanced tax extensions | Magento_Tax, Magento_Weee |
| Payment gateway support (PayPal, Braintree, etc.) | Separate modules for each gateway | Magento_Braintree, Magento_Paypal, and more |
| CSV import/export via CLI | Extensions like Improved Import | Magento_ImportExport |
| Multi-source inventory (MSI) | Not available in M1, used complex workarounds | Magento_Inventory* series (MSI, introduced in Magento 2.3) |
-
If a Magento 2 version is available from the original provider — or if there’s a compatible extension offering similar functionality from another vendor — there's no need to manually migrate or refactor the Magento 1 code. Simply purchase or download the M2 version and install it natively, then focus on migrating its associated data.
Explore popular Magento 2 modules from trusted vendors like Aitoc and BSS Commerce.
-
Custom-developed module (when no equivalent exists): If no direct Magento 2 equivalent or compatible third-party module exists, you may need to build a custom module. This involves using Magento 2’s modular structure, service contracts, and dependency injection. Reuse business logic where possible, but refactor it to align with Magento 2 architecture. If the original extension stored data, you'll need to write custom scripts to migrate that data into your new Magento 2 schema.
2. Custom-developed extensions
Custom-developed extensions are modules built in-house or by an agency to address specific business requirements. Their migration approach mirrors that of third-party extensions in some aspects:
- Now covered by Magento 2 core: Similar to third-party extensions, you won't need to migrate the custom code if Magento 2 now offers that functionality natively. You'll simply configure the built-in feature and plan the data migration.
| Custom feature in Magento 1 | Now built-in feature in Magento 2 |
| Full-page caching (FPC) | Native FPC with Varnish support |
| Custom CMS layout editing | Page builder (Fully integrated in Adobe Commerce; Enabled by default with core function from Magento Open Source 2.4.3) |
| Advanced Admin UI Grids | Enhanced UI grids via Magento UI components |
| Admin action tracking/audit logs | Admin logging (Audit logging is available in Adobe Commerce only (Magento_AdminAuditLog). Third-party is still needed for Open Source.) |
| Scheduled data sync / import-export via cron | CLI-based import/export with cron support |
-
Third-party alternatives: If a Magento 2 module from a third-party vendor offers similar functionality to your custom-developed module, you can simply install it and migrate the data from your original custom-developed module, no code migration required. This can save significant development time.
-
Rebuild from scratch: If no built-in or third-party alternative exists, you will need to rebuild your custom module. This involves:
-
Rebuild the module using Magento 2’s modular structure, service contracts, and dependency injection.
-
Reuse business logic where appropriate, but adapt the code to Magento 2’s architecture.
-
Write custom scripts to migrate associated data from M1 to M2 if needed.
| Extension type | Description | Migration direction |
| Built-in Magento modules | Core modules included by default in Magento 1 (e.g, CMS, catalogue, customer). | Use Magento 2 core equivalent, no code migration required. |
| Third-party extensions | Extensions purchased or downloaded from external vendors or the Magento Marketplace. | Replace with the official Magento 2 version from the same vendor. |
| Custom-developed extensions | Extension developed in-house or by an agency to meet specific business needs. | Rebuild manually following Magento 2 architecture and coding standards. |
Note: The Magento Data Migration Tool is not designed for migrating third-party or custom extension data. If you're migrating from a third-party extension to a custom module — or vice versa — you'll need to map fields manually and develop custom migration scripts tailored to the new database structure.
For more specific details on data migration, refer to Step 5 or a dedicated guide on Magento data migration.
Step-by-step process for Magento 2 extension migration

Step 1. Classify your existing Magento 1 extensions by type
Direction: Begin by creating a comprehensive inventory of all your Magento 1 extensions. For each extension, note its developer, primary purpose, and whether it is considered essential for your Magento 2 store's functionality. This classification will guide your subsequent migration decisions.
| Module type | Guidance |
| Built-in |
List all default features actively used. Example:
|
| Third-party | Identify extensions installed from Magento Marketplace or external vendors. Note license, vendor, and version. |
| Custom-developed | Document all modules built in-house or by agencies. Include their business purpose and current usage status. |
Step 2. Check for Magento 2 equivalents
Direction: Once you have classified your extensions, the next step is to determine whether each one has an equivalent in Magento 2. This could be a built-in feature that now provides the same functionality, or an updated version available for purchase from the original vendor or on the Magento Marketplace.
For each extension in your inventory, ask the following:
-
Is the functionality now covered natively in Magento 2?
-
Is there an official Magento 2 version available from the original vendor?
-
Can the need be fulfilled with a modern third-party module or core feature?
Answering these questions allows you to avoid rebuilding functionality that’s already available out-of-the-box or maintained by trusted vendors.
| Module type | Guidance |
| Built-in |
Review Magento 2’s core feature set to confirm whether the same functionality now exists. If so, plan to configure it properly in Magento 2 instead of migrating or rebuilding the old code. |
| Third-party |
For third-party extensions you used in Magento 1, your primary goal is to find their Magento 2 counterparts. Begin by visiting the original vendor’s official website or searching the Adobe Commerce Marketplace. Look for an updated version specifically designed for Magento 2. Check for:
|
| Custom-developed |
Evaluate whether the functionality is still essential for your business operations in the Magento 2 environment. Determine if it can be replaced by a built-in Magento 2 feature or a reliable third-party module. Only if neither option meets your specific requirements should you consider rebuilding the functionality as a custom module in Magento 2. |
Step 3: Determine the migration method depending on the type of extension
Direction: Now, you can choose the appropriate migration strategy for each module: reuse, replace, or rebuild. This decision should be based on architectural compatibility, data requirements, and long-term maintainability.
| Module type | Guidance |
| Built-in |
No code migration. Use the Magento Data Migration Tool to transfer core data (e.g., products, customers, orders, store configurations) and reconfigure system settings manually within the Magento 2 admin where needed. |
| Third-party |
When a Magento 2 version of the extension exists, here are the key steps:
It’s important to validate schema compatibility between Magento 1 and Magento 2 before transferring any data to avoid integrity issues or data loss. |
| Custom-developed |
There are two options for you to choose from:
Replace it with an existing Magento 2 module if a suitable alternative exists. Reuse business logic where appropriate, but ensure it aligns with Magento 2's new structure. |
For example, in Magento 1, merchants often custom-built one-step checkout modules to simplify the default multi-step process and boost conversions. In Magento 2, this can be easily replaced with third-party extensions like BSS Commerce One Step Checkout, which offer optimised, user-friendly checkout flows without custom development.
Step 4: Install or rebuild the extension in Magento 2
Direction: This step involves executing your chosen migration strategy for each extension — whether installing an existing Magento 2 version or rebuilding the module from scratch.
Note: Magento 1 code cannot be reused as-is due to Magento 2’s architectural overhaul. All modules must align with Magento 2’s modular structure, namespacing, and dependency injection (DI) system.
For vendor-provided extensions: Install via Composer or ZIP upload.
If the vendor provides a Magento 2 version of the extension, follow these steps:
1. Acquire the Magento 2 version:
- Purchase or download from the Magento Marketplace, Packagist (for Composer packages), or directly from the vendor.
- Ensure compatibility: Always verify that the module is compatible with your specific Magento 2 version (e.g., 2.4.x or later). Checking the module's documentation or marketplace listing for supported Magento versions is essential to prevent installation issues.
2. Install the extension:
- Via Composer (recommended):
composer require vendor/module-name - Or via ZIP upload:
-
Extract the contents into
app/code/Vendor/ModuleName. -
Make sure file ownership and permissions are correct.
-
3. Enable and register the module:
bin/magento module:enable Vendor_ModuleNamebin/magento setup:upgradebin/magento setup:di:compilebin/magento cache:flush
- Command breakdown:
-
bin/magento module:enable Vendor_ModuleName:Activates the module. -
bin/magento setup:upgrade:Updates the database schema and data if required by the new module, and registers it. -
bin/magento setup:di:compile:Compiles the dependency injection configuration, crucial for performance in production mode. -
bin/magento cache:flush:Clears Magento caches to ensure the new module's changes are reflected.
-
4. Configure in the admin panel:
- Navigate to Stores > Configuration, or to the module’s own admin section.
- Apply any initial settings required to activate or customize the module.
When rebuilding a Magento 1 extension from scratch:
If no Magento 2 version is available, or you're migrating a custom module, rebuild it using Magento 2’s development standards.
1. Set up the module structure:
- Create the base directory:
app/code/Vendor/ModuleName - Include essential files below:
- registration.php: This file is crucial for Magento to discover and register your module. It typically contains
\Magento\Framework\Component\ComponentRegistrar::register(...). etc/module.xml:This XML file defines your module's name, version, and any dependencies on other Magento modules. It's where you declare your module to the Magento system.composer.json(optional for app/code, required for Composer packages): It defines your module's metadata, dependencies, and autoloading rules, making it easier to manage and distribute your module in the future.- Namespace PHP classes: All PHP classes within your module (e.g.,
Block/, Model/, Controller/, Helper/equivalents) must follow PHP's PSR-4 autoloading standard and be properly namespaced according to yourVendor\ModuleNamestructure. This replaces Magento 1's class aliasing system.
- registration.php: This file is crucial for Magento to discover and register your module. It typically contains
Note: As you rebuild, use Git-based code comparison tools like Beyond Compare, Meld, or VS Code diff view to compare Magento 1 and Magento 2 logic during the rewrite. These tools help identify gaps, structure differences, and missing features, helping you ensure that no critical functionality is overlooked during the rewrite.
2. Rewrite the module’s functionality:
- Adapt your Magento 1 module's business logic and presentation layer to Magento 2's paradigms:
| Task | Magento 1 pattern | Magento 2 equivalent |
| Convert business logic | Use helpers (e.g., Mage::helper('module')) |
Replace with Service Contracts and Models |
| Use Dependency Injection (DI) | Call objects directly via Mage::getModel() or Mage::helper() |
Declare dependencies in constructors using Dependency Injection |
| Convert observers | Define observers in global config.xml |
Use Plugins (method interceptors that modify class behavior without overrides) or Events declared in etc/events.xml |
| Update frontend | Layout XML, .phtml templates, and inline/custom JavaScript |
Rewrite layout XML and templates; integrate with RequireJS and Knockout.js |
Note: Use PhpStorm with the Magento 2 Plugin for scaffolding, DI hints, and XML validation to streamline development and reduce errors.
3. Register and enable the module:
bin/magento module:enable Vendor_ModuleNamebin/magento setup:upgradebin/magento setup:di:compilebin/magento cache:flush
Remember to configure any necessary settings in the Magento 2 admin panel afterwards.
4. Configure in the admin panel
If your module includes admin settings, make them configurable via system.xml, then configure them under Stores > Configuration after deployment.
Step 5: Plan data and configuration migration
Direction: If the module stores data (e.g., custom tables or settings), plan how that data will be transferred.
Note: Data migration should only happen after the Magento 2 module is installed and its database schema is fully in place.
3 main ways of data migration:
1. Magento data migration tool - The official Command Line Interface (CLI) tool provided by Adobe.
- Best for: It is primarily designed for migrating structured core Magento entities like products, customers, orders, and CMS content, ensuring high compatibility and data relationships.
- Considerations: While excellent for core data, migrating module-specific custom tables or configurations requires additional effort. You'll need to create or modify XML mapping files (e.g., map.xml, config.xml) within the Data Migration Tool's configuration to define how your custom Magento 1 module data maps to the new Magento 2 module's schema. This process can be complex for highly customised data structures.
2. Third-party migration tools - Various third-party services and tools, such as LitExtension or Cart2Cart, offer automated migration solutions. These tools typically provide a user-friendly interface to guide you through the migration process.
- Best for: They can be a good option for stores with less complex customisations or those seeking a quicker, less hands-on approach.
- Considerations: These tools might come with a cost. Their effectiveness for highly customised data or unique module structures can vary, and they may require manual intervention or custom adjustments for complex scenarios. Always review their capabilities against your specific module requirements.
3. Manual migration: This approach involves developing custom scripts, using direct SQL queries, or leveraging CSV import/export functionalities to transfer data.
- Best for:
-
Small datasets: When the volume of data is manageable, manual intervention can be quicker than configuring automated tools.
-
Complex custom data structures: For highly unique or intricate module data that automated tools cannot handle, custom scripts provide the precision needed to map and transform data accurately.
-
Specific configuration settings: Sometimes, module configurations are best transferred by directly setting them in the Magento 2 admin panel or via deployment scripts rather than data migration.
-
- Considerations: This method is the most time-consuming and requires strong technical expertise in Magento 2 database schema, SQL, and potentially PHP scripting. It also carries a higher risk of errors if not executed meticulously.
| Method | Best for | Considerations |
| Magento data migration tool (Official CLI tool by Adobe) |
Structured core Magento entities like products, customers, orders, and CMS content, ensuring high compatibility and data relationships. |
- Migrating custom module tables requires extending XML mapping files (e.g., - Can be complex for heavily customized data structures |
| Third-party migration tools (e.g., LitExtension, Cart2Cart) |
- Stores with minimal customisation - Those seeking a quicker, less hands-on approach for common entities. |
- Paid services - May struggle with complex or custom data - Manual intervention might still be needed for specific module structures |
| Manual migration (SQL, CSV, or custom scripts) |
- Small datasets - Complex or unique custom data structures - Module-specific configuration settings |
- Most time-consuming - Requires strong technical expertise (SQL, PHP, Magento DB schema) - Higher risk of errors if not carefully planned and executed |
Step 6: Test the new module functionality thoroughly
Direction: Once modules are installed and data has been migrated, conduct a comprehensive round of testing in a development or staging environment. This ensures functional integrity and prevents issues in production.
-
Verify admin settings, frontend behaviour, cron jobs, and any integration points.
-
Ensure no conflicts occur between modules.
-
Run performance and regression tests if applicable.
How to implement:
1. Validate the environment setup:
- Confirm you’re working in a development or staging environment that mirrors production (PHP version, Redis, Elasticsearch, etc.).
- Enable developer mode using:
php bin/magento deploy:mode:set developer. - This ensures detailed error reporting and proper testing visibility.
2. Verify admin configuration:
- Check all store settings: taxes, currency, payment, shipping, and email.
- Review each installed extension’s admin settings and permission roles.
3. View and test frontend behaviour:
- Navigate category and product pages.
- Add items to the cart, apply coupons, and go through the checkout.
- Confirm the accuracy of product data, pricing, tax, and shipping calculations.
- Validate customer login, registration, and order history access.
4. Verify cron jobs are running:
- Run scheduled tasks manually using:
php bin/magento cron:run/. - Then check that indexing, emails, order updates, and other cron-based processes are working correctly.
- Review the
cron_scheduletable and log files if needed.
5. Validate integration points:
- Test external system connections (ERP, CRM, shipping, payments).
- Confirm that product syncs, order exports, and webhook triggers execute successfully.
- Ensure updated API credentials or tokens are working post-migration.
6. Verify for module conflicts:
- Review log files for errors:
-
var/log/system.log -
var/log/exception.log -
var/report/
-
-
Inspect the storefront and admin for:
-
Broken layouts
-
JavaScript console errors
-
Dependency Injection (DI) compilation errors
-
Re-run:
bin/magento setup:di:compileto confirm module compatibility.
7. Validate performance and regression:
- Use tools like Lighthouse, Magento Profiler, or New Relic to assess performance.
- Test all major user flows (browse → cart → checkout).
- Validate that all key features and custom module functionality have migrated successfully.
Step 7: Optimise and finalise
Direction: With testing complete, finalise your migration by cleaning up, validating configurations, and preparing for a stable production deployment.
-
Reindex Magento 2:
-
Update all indexers to reflect your latest data and configurations:
bin/magento indexer:reindex -
Confirm indexer status:
bin/magento indexer:status -
Flush caches:
-
Clear all Magento caches to ensure the latest code and configurations are applied:
bin/magento cache:flush -
Also, verify that static content and dependency injection files are regenerated properly.
-
Fix remaining issues: Address any outstanding configuration errors, layout inconsistencies, or minor frontend issues.
-
Review logs in var/log/ and var/report/
-
Test across user roles, store views, and responsive breakpoints
-
Remove deprecated or unused modules: Clean up your codebase by disabling and removing any extensions that are no longer required: bin/magento module:disable Vendor_Module. Then remove them from
composer.jsonor theapp/code/directory.
| Module type | Post-migration actions |
| Built-in modules |
- Review migrated data and system settings. - Verify CMS content, store configuration, and tax/shipping rules. - Double-check scope levels (Global, Website, Store View), especially in multi-store setups. |
| Third-party extensions |
- Review and reapply missing settings in Stores > Configuration. - Confirm that admin ACL permissions are correctly assigned for new menu items or backend features. - Document vendor info, license keys, and limitations. - Validate performance impact (e.g., widgets, observers) and deploy static assets. |
| Custom-developed modules |
- Configure new module settings and verify correct scope. - Define ACL rules and test admin role access. - Run performance checks on custom blocks or database queries. - Provide internal documentation (README or admin notes) covering how the module works, manual steps (cron jobs, CLI commands), and known caveats |
Magento 2 extension migration: Common issues & how to resolve
While migrating extensions from Magento 1 to Magento 2, both merchants and developers may face various challenges that can disrupt functionality or delay the go-live timeline. These issues often arise from major architectural changes between Magento versions, incomplete data transfer, or conflicts with themes and other modules. Below are some of the most common extension migration problems, along with practical solutions to help you resolve them efficiently.

Business logic doesn’t work after migration
Issue: After migrating the module code, core functionalities such as product manipulation, custom pricing, form submissions, or admin actions stop working. This usually happens due to:
-
Magento 2’s architectural changes render Magento 1 code incompatible.
-
Removed or deprecated core classes (e.g., no more
Mageclass). -
Incorrect use of object creation (e.g., calling
ObjectManagerdirectly instead of Dependency Injection). -
Incompatibility with Magento 2’s service layer or plugin system.
How to resolve:
Refactor the code to match Magento 2’s architecture:
-
Remove legacy patterns – Eliminate use of Mage::getModel(), helpers, and singleton-style calls.
-
Apply DI and architectural patterns – Refactor using dependency injection, repositories, and service contracts.
-
Use extension mechanisms – Replace rewrites with plugins and observers to extend or intercept logic.
-
Validate best practices – Ensure code is modular, testable, and future-proof for upgrades.
Use Extension Points Instead of Direct Overrides:
-
Avoid core rewrites – Do not override Magento core classes as in Magento 1; this approach breaks compatibility and causes conflicts.
-
Use plugins – Intercept methods using before/after/around plugins to modify class behavior without altering the source.
-
Use observers – Listen to system events via events.xml and trigger logic without touching core methods.
-
Follow extension standards – Ensure your code uses Magento 2’s native mechanisms for safer upgrades and better maintainability.
Module data not migrated
Issue: After migrating your Magento 1 modules to Magento 2, the extension may appear in the Admin Panel, but custom data such as configuration settings, logs, tokens, flags, or records from custom tables may be missing. This happens because the Magento Data Migration Tool (DMT) is designed to migrate core Magento entities — such as products, customers, orders, and CMS content — but does not handle custom module data, including extension-specific tables, EAV attributes, or logs.
How to resolve:
To resolve this issue, you can undertake manual migration of custom data. This involves two main approaches:
Option 1: Manually migrate data via SQL or PHP Scripts
For unique extension data structures, custom PHP or SQL scripts are often necessary. These scripts will extract data from the Magento 1 database and insert it into the corresponding Magento 2 tables, which may have a different schema.
Key steps include:
-
Exporting data: Using
SELECTqueries to retrieve the relevant data from your Magento 1 database. -
Transforming structure: If needed, transforming the data structure (e.g., column renaming, type casting) to match Magento 2's schema.
-
Importing data: Importing the transformed data into Magento 2 using
INSERTstatements or Magento'sMagento\Framework\DB\Adapterfor more robust operations.
Tips: Wrap logic in try-catch blocks and log rows/errors during import for easier debugging.
Option 2: Build a custom data migration module
For structured migrations or when migrating multiple entities, creating a dedicated Magento 2 module is a cleaner and more reusable approach. This module can encapsulate the migration logic and provide a structured way to manage the data transfer.
Key steps for building such a module include:
-
Defining source and destination models: Setting up models that represent the data structures in both your Magento 1 (source) and Magento 2 (destination) databases.
-
Implementing migration logic: Using setup scripts or custom CLI commands to execute the data transfer logic.
-
Logging: Implementing logging for migrated rows and exceptions to monitor the process and aid debugging.
This approach works well for migrating records like logs, tokens, saved configuration, or historical records that don’t belong to core Magento tables.
Validate the schema mapping: Before running any custom scripts, you need to map the relationships between Magento 1 and Magento 2 tables to ensure data integrity. This includes:
-
Schema verification: Confirming table names, column types, and relationships.
-
Consistency checks: Performing data consistency checks to ensure no rows are lost, and data relationships (e.g., customer IDs, product IDs) are preserved.
Conflicts with other modules or themes
Issue: The migrated module causes layout issues on the storefront, generates backend errors, or interferes with the functionality of other installed extensions or the current theme. Common sources of conflict include duplicated observers, multiple plugins targeting the same method, overwritten templates, or unscoped JS and CSS files.
How to resolve:
-
Isolate the module – Test in a clean staging environment to rule out conflicts with other extensions or themes.
-
Inspect for conflicts – Check for duplicate observers, overlapping plugins, layout overrides, or conflicting JS/CSS. Use logs and browser dev tools for errors.
-
Apply best practices – Use plugins over rewrites, set plugin sortOrder, manage observers carefully, and avoid unnecessary DI preferences.
Performance issues
Issue: Migrated modules may introduce performance bottlenecks such as slow page loads, high memory usage, or delayed server response times. These problems typically arise when legacy code is reused without optimisation for Magento 2’s architecture and execution model.
How to resolve:
-
Audit module logic – Remove redundant queries, unfiltered collections, and heavy loops that impact performance.
-
Refactor for Magento 2 – Use DI, repositories, and caching; avoid using load() inside loops.
-
Enable performance features – Turn on FPC, JS/CSS bundling, and deploy static content in production.
-
Run profiling tools – Use Magento Profiler, Blackfire, or Xdebug to trace slow code and memory issues.
Missing admin configurations
Issue: After migrating a module to Magento 2, you may find that its configuration settings, admin menus, or custom backend UI components are not visible in the Admin Panel. This is typically caused by issues in configuration files or a missing access control setup.
How to resolve:
-
Check
system.xml– Ensure settings are registered under the correct section, tab, and group with valid scopes and labels. -
Verify
acl.xml– Confirm resource identifiers match and are assigned to the right user roles. -
Review admin layout files – Check
adminhtmllayout XML andmenu.xmlif UI elements or menus are missing. -
Flush caches & recompile – Run
cache:flushandsetup:di:compile, then re-login to refresh ACL and configuration visibility.
Incomplete frontend integration
Issue: Frontend elements such as templates, blocks, or JavaScript components fail to display or function properly after migration. This usually stems from outdated rendering logic or incompatible frontend assets.
How to resolve:
Rewrite frontend components to align with Magento 2’s rendering system:
-
Refactor layout.xml using Magento 2’s structure and naming conventions
-
Update .phtml templates to work with namespaced blocks and data bindings
-
Adjust block classes to use dependency injection and proper view models
Adopt Magento 2's frontend architecture:
-
Use Knockout.js for dynamic UI bindings
-
Load scripts and modules via RequireJS
-
Leverage UI components (grids, forms, modals) where applicable for maintainability and performance
Conclusion
Migrating Magento 1 extensions to Magento 2 requires more than just copying code; it demands a solid understanding of Magento 2’s architecture and a well-defined migration strategy. In this guide, we outlined what to prepare before migration, walked through a step-by-step process, and shared solutions to common issues that may arise during the transition.
Looking for a trusted partner to handle your Magento migration?
On Tap Group - A certified Magento development company, specialising in seamless platform migrations, including Magento 1 to Magento 2. With over 19 years of experience and a team of 400+ experts, they ensure your data, performance, and SEO are preserved every step of the way.
Learn more about On Tap's Magento Migration Services.